Alternator Bearing Replacement: A Comprehensive Guide
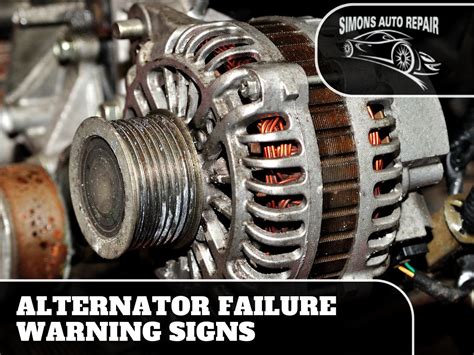
Alternators are crucial components of a vehicle's electrical system, responsible for generating electricity and recharging the battery. As a result, alternator bearings play a vital role in ensuring the efficient operation of the alternator. However, over time, these bearings can wear out and fail, necessitating replacement. This guide provides a comprehensive overview of alternator bearing replacement, including identification of symptoms, step-by-step instructions, and effective strategies for successful repair.
Signs of Alternator Bearing Failure
The following symptoms may indicate alternator bearing failure:
-
Whining or squealing noises: This is the most common sign of alternator bearing failure.
-
Increased battery discharge: Worn bearings can impede the alternator's ability to generate electricity, leading to battery discharge.
-
Flickering or dimming lights: A struggling alternator may cause voltage fluctuations, resulting in flickering or dimming headlights and interior lights.
-
Overheating alternator: Excessive friction from worn bearings can cause the alternator to overheat.
-
Bearing play: Excessive play in the alternator bearings can be detected by manually rotating the alternator pulley.
Causes of Alternator Bearing Failure
Various factors can contribute to alternator bearing failure, including:
-
Wear and tear: Bearings are subject to natural wear and tear due to continuous rotation and load.
-
Contamination: Dirt, water, or other contaminants can enter the bearings and accelerate wear.
-
Improper lubrication: Lack of lubrication can increase friction and reduce bearing life.
-
Overloading: Excessive load on the alternator can put additional stress on the bearings.
-
Defective bearings: Manufacturing defects or damaged bearings may fail prematurely.
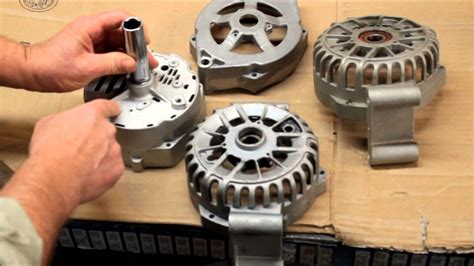
Step-by-Step Alternator Bearing Replacement
Materials Required:
- New alternator bearings
- Bearing removal tool (optional)
- Pulley removal tool (optional)
- Socket wrench set
- Torque wrench
- Anti-seize compound
Instructions:

-
Safety First: Ensure the vehicle is parked on a stable surface, disconnect the battery, and allow the engine to cool.
-
Locate the Alternator: Identify the alternator and locate the pulley at the end of the shaft.
-
Remove the Pulley: Use a pulley removal tool or a suitable socket wrench to loosen and remove the pulley.
-
Extract the Bearing: Use a bearing removal tool or carefully pry the bearing out of the alternator housing.
-
Inspect the Alternator Housing: Check the alternator housing for any damage or wear. Clean and inspect the bearing seats.
-
Install the New Bearing: Apply a small amount of anti-seize compound to the bearing and carefully press it into the housing. Ensure it is seated properly.
-
Reinstall the Pulley: Place the pulley back on the shaft and tighten it using the torque wrench according to the manufacturer's specifications.
-
Reconnect the Battery: Reinstall the battery terminals and double-check all connections.
-
Startup and Test: Start the engine and let it run at idle. Monitor the alternator output using a voltmeter to ensure proper function.
Effective Strategies for Successful Repair
-
Use High-Quality Bearings: Invest in high-quality alternator bearings from reputable manufacturers to ensure durability and longevity.
-
Proper Lubrication: Regularly lubricate the alternator bearings with a recommended lubricant to minimize friction and extend bearing life.
-
Inspect and Clean Regularly: Periodically inspect the alternator and bearings for any signs of wear or contamination. Clean the area and apply fresh lubricant as needed.
-
Avoid Overloading: Avoid overloading the alternator by limiting the use of high-power electrical accessories.
-
Install a Voltage Regulator: A voltage regulator helps regulate alternator output and reduces stress on the bearings.
How-to Video
For a visual guide to alternator bearing replacement, refer to the following video:
[Video Link]
Call to Action
If you experience any of the symptoms mentioned earlier or suspect alternator bearing failure, do not hesitate to consult a qualified mechanic. Timely bearing replacement can prevent further damage to the alternator and ensure optimal electrical system performance.
Tables
Table 1: Alternator Bearing Failure Rates
| Vehicle Type |
Failure Rate |
| Passenger Cars |
10-20% |
| Trucks and SUVs |
15-25% |
| Commercial Vehicles |
20-30% |
Table 2: Common Alternator Bearing Sizes
| Vehicle Type |
Alternator Bearing Size |
| Compact Cars |
6202, 6203 |
| Mid-Size Cars |
6303, 6304 |
| Heavy-Duty Vehicles |
6305, 6306 |
Table 3: Alternator Bearing Maintenance Schedule
| Mileage Interval |
Maintenance Task |
| 50,000 - 75,000 miles |
Inspect bearings for wear |
| 75,000 - 100,000 miles |
Lubricate bearings |
| 100,000 - 125,000 miles |
Replace bearings as needed |
